Showing posts with label hair. Show all posts

Thursday, July 26, 2012

Flat Branch

We Live Upstairs Flat Branch Outfit

We Live Upstairs Flat Branch Outfit

We Live Upstairs Flat Branch Outfit
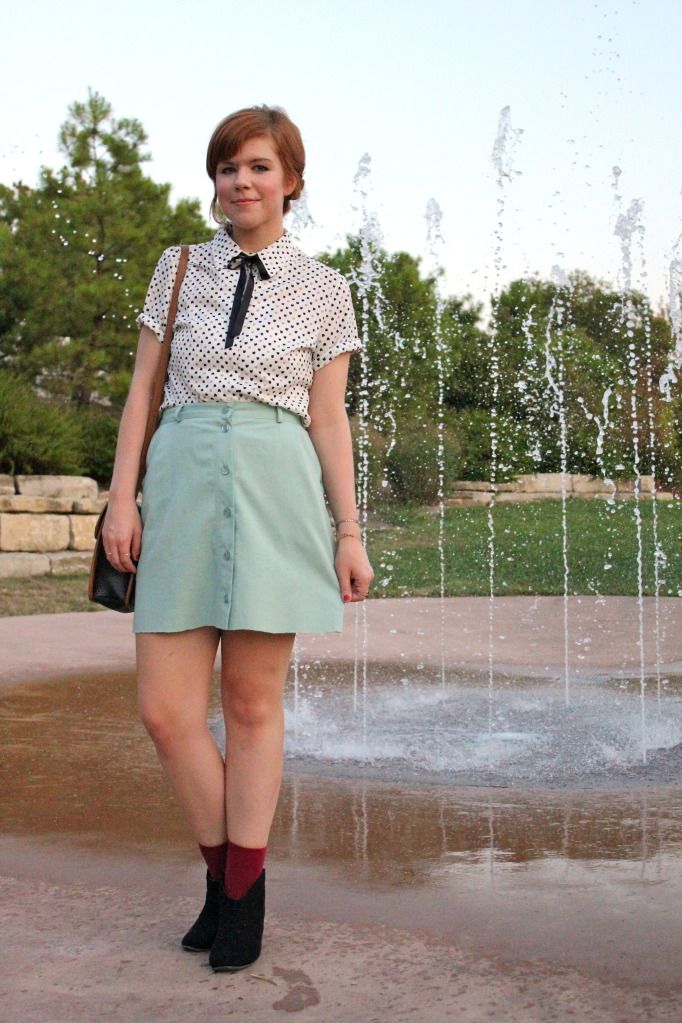
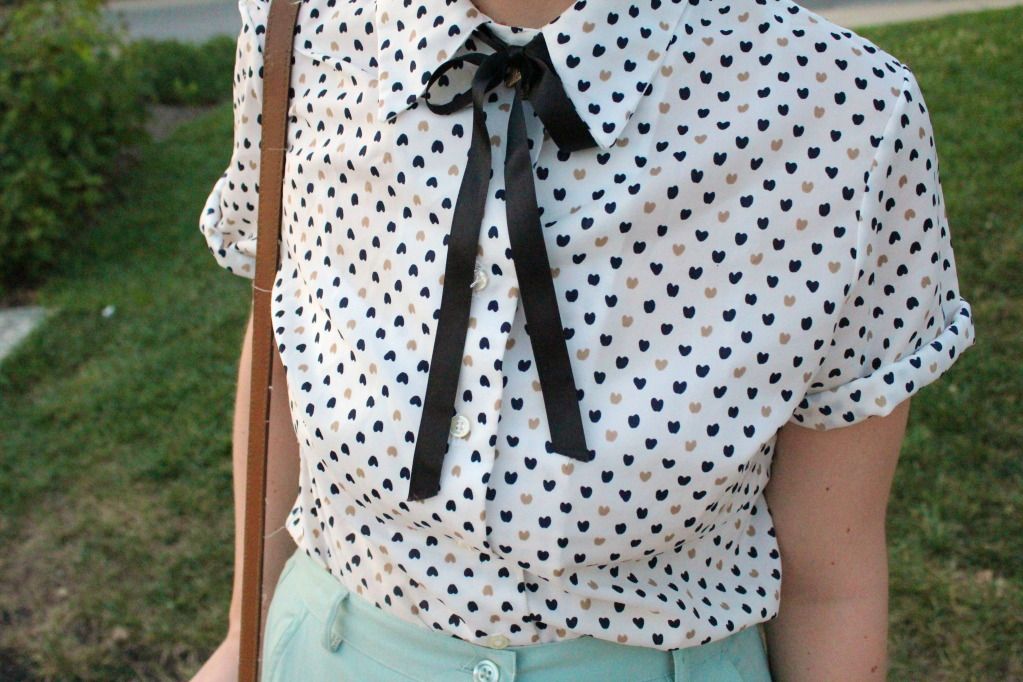
Who could resist the heart print? I couldn't.

We Live Upstairs Flat Branch Outfit

We Live Upstairs Flat Branch Outfit

We Live Upstairs Flat Branch Outfit
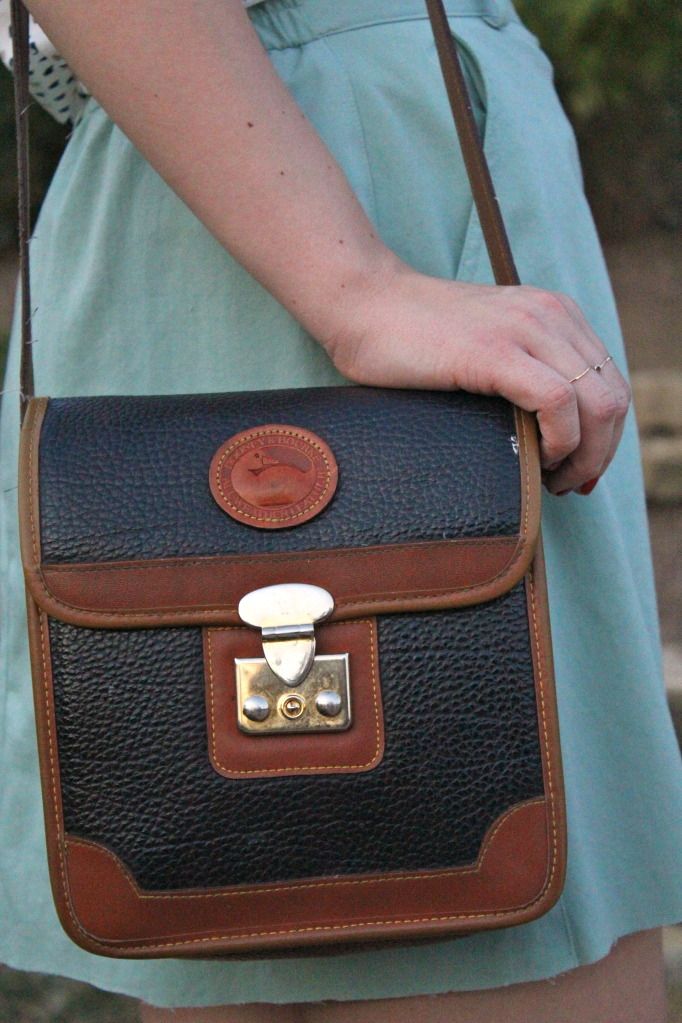
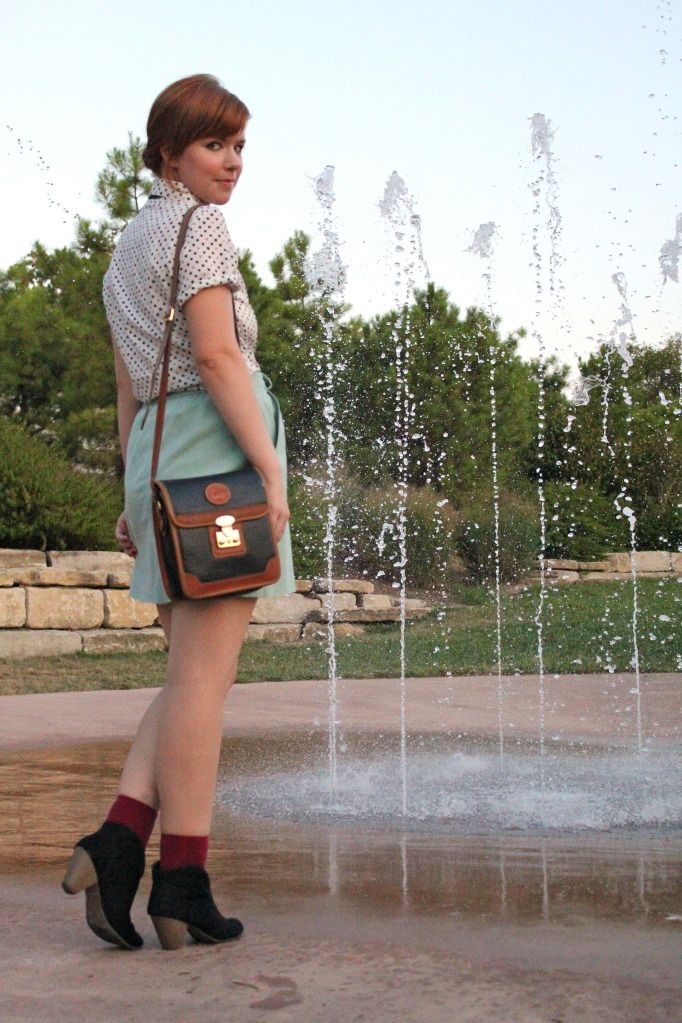
Shirt: Thrifted; Skirt: Thrifted; Socks + Booties: Target; Bag: Vintage

This bag, though a little beat up, is one of my favorite possessions. I found it in a much loved antique store in Cape Girardeau a couple of years ago, when Matt and I were living there. I admired it for weeks until I convinced myself that the price on the tag was appropriate and the bag necessary. No regrets! It's sturdy structure has served me well and I get complimented on it quite frequently.

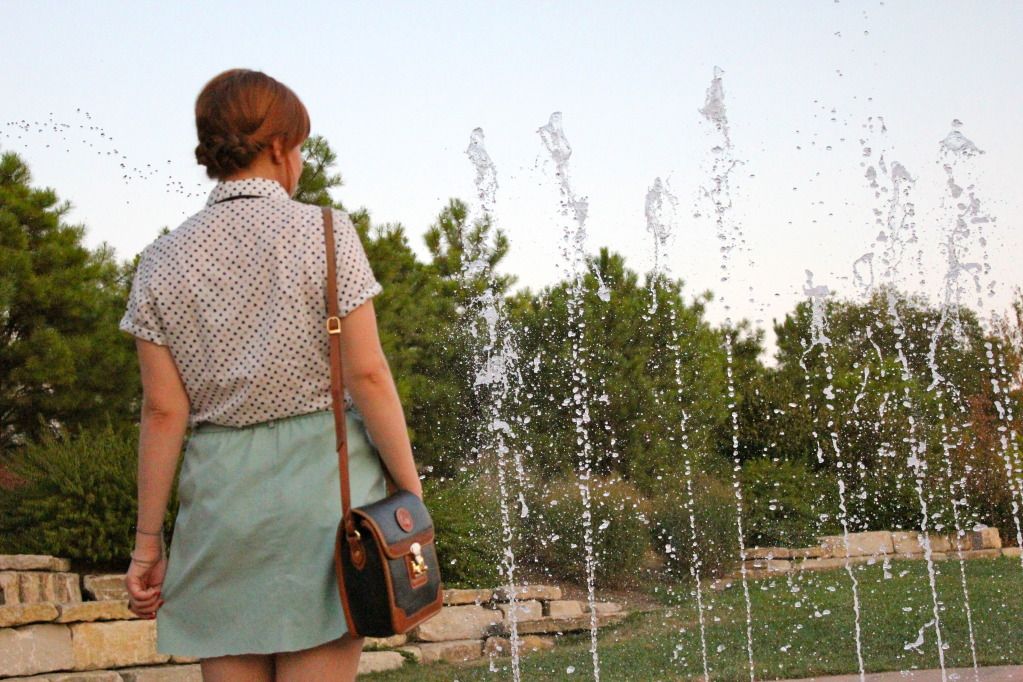
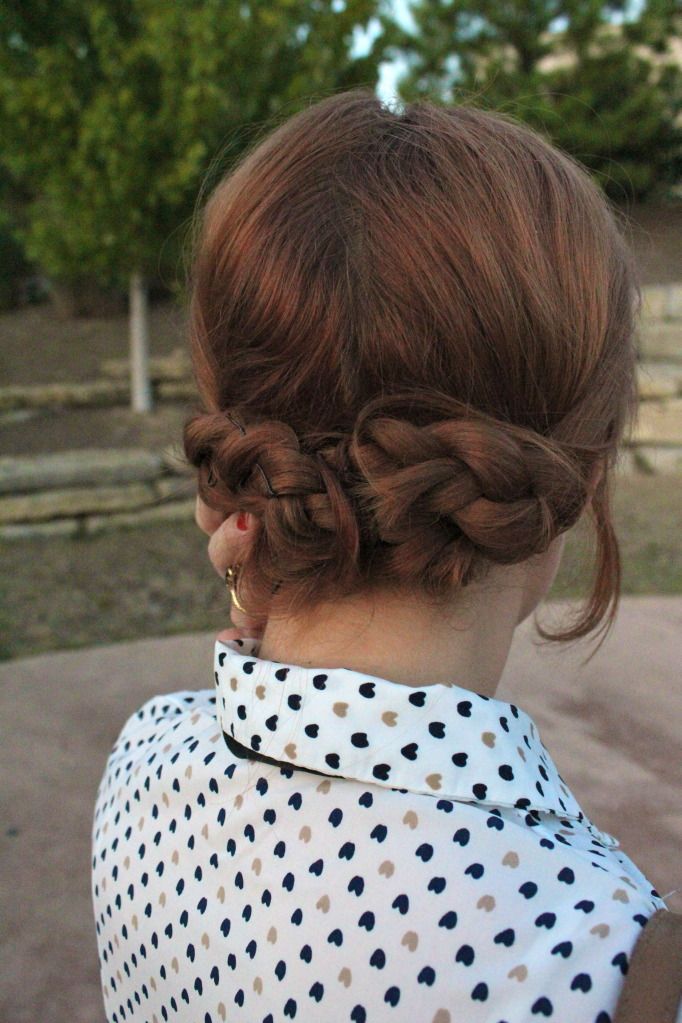
My hair is starting to get long enough to where I can try some new things now again, and so here I braided it into pigtails, then twisted the pigtails around each other. It's not too pretty, and there are about a million bobby pins in there, but I thought it looked passable and it held up through the evening. What's your favorite I-actually-put-a-little-effort-in-today hairstyle? One of my best friends fashioned a bow out of her own hair last weekend, and it turned out beautifully! Maybe one day mine will be long enough...

Have a great start to your weekend! 

Wednesday, July 11, 2012

Hair Pin DIY

We Live Upstairs Hair Pin DIY
So...remember all of those crafting projects I claimed to be so busy with over the past month? I wasn't lying! Here are some hair pins I came up with on the fly, one Sunday afternoon. Being as I had already finished these (and all the rest of my crafts) by the time I was able to take decent photos of everything, they won't actually be step-by-step. But most of the supplies are pictured, and hopefully any instructions will be easy to follow : ). Enjoy!

We Live Upstairs Hair Pin DIY
You Will Need:
-As many bobby pins as your heart desires.
-Jewelry pliers. The smaller the nose, the better.
-Wire (not pictured, as I used it all). I chose gold, but do you, kittens! You want something thin and that bends quite easily, so something of a higher gauge is most desirable.

We Live Upstairs Hair Pin DIY
I found it easiest to make my shapes/words first, then attach it to the bobby pin. So once you play around with your bendy wire and make an object, open up the bobby pin.

-Place your object on the bumpy side of the pin, to get an idea of where it will attach.
-Take the excess wire coming off of your shape, and start at one end of the bumpy side of your pin.
-Wrap the wire as snugly as possible around and around the pin, until you get to where the pin folds.
-You can cut off the excess wire now, and use your pliers to make sure any snaggy (technical term) parts of the wire are tucked in tightly.
-Use your pliers to close the bobby pin.

We Live Upstairs Hair Pin DIY

We Live Upstairs Hair Pin DIY
Fake flowers are also a great addition, if you happen to have any laying around.

We Live Upstairs Hair Pin DIY
Now, I'm sure you'll be able to see this for yourself, should you try this out, but the clips are pretty delicate/bendable, as thinner wire was used. So try to store them in a spot where they won't be damaged. And gentleness is needed when placing them in hair : ).

Well, that's all I've got for now! Collar necklaces and floral crowns to follow soon(ish)!
Related Posts Plugin for WordPress, Blogger...