
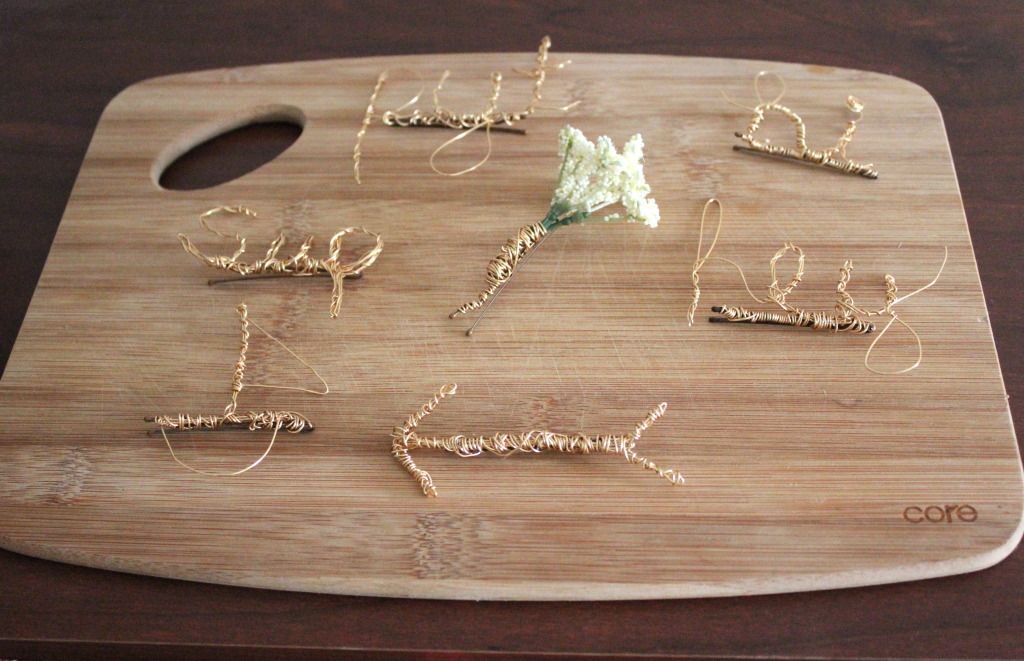
So...remember all of those crafting projects I claimed to be so busy with over the past month? I wasn't lying! Here are some hair pins I came up with on the fly, one Sunday afternoon. Being as I had already finished these (and all the rest of my crafts) by the time I was able to take decent photos of everything, they won't actually be step-by-step. But most of the supplies are pictured, and hopefully any instructions will be easy to follow : ). Enjoy!

-As many bobby pins as your heart desires.
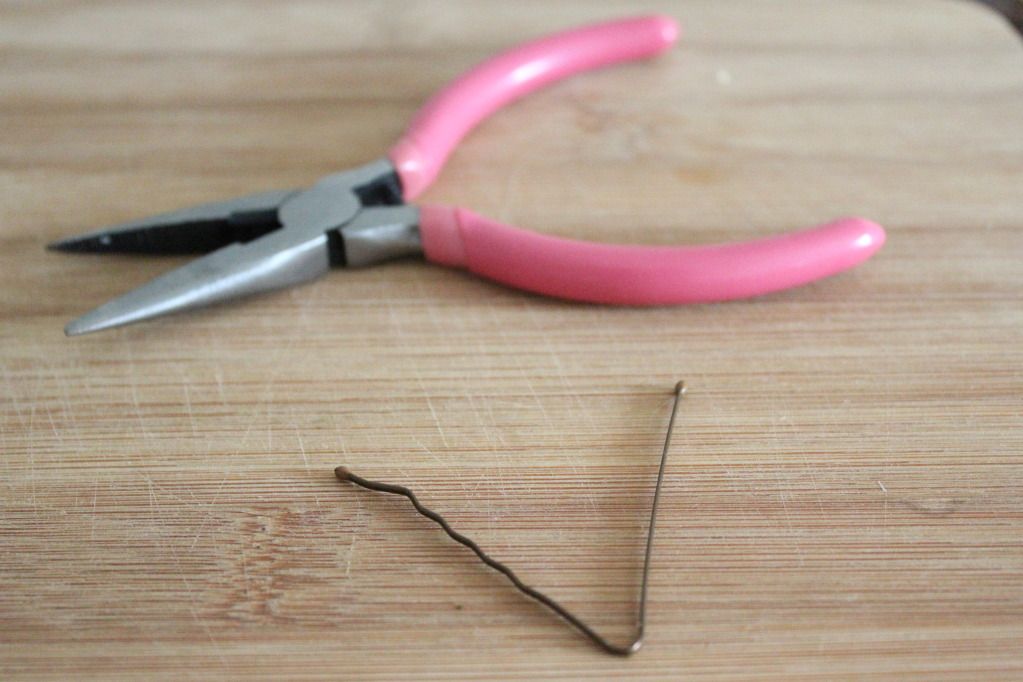
-Jewelry pliers. The smaller the nose, the better.
-Wire (not pictured, as I used it all). I chose gold, but do you, kittens! You want something thin and that bends quite easily, so something of a higher gauge is most desirable.
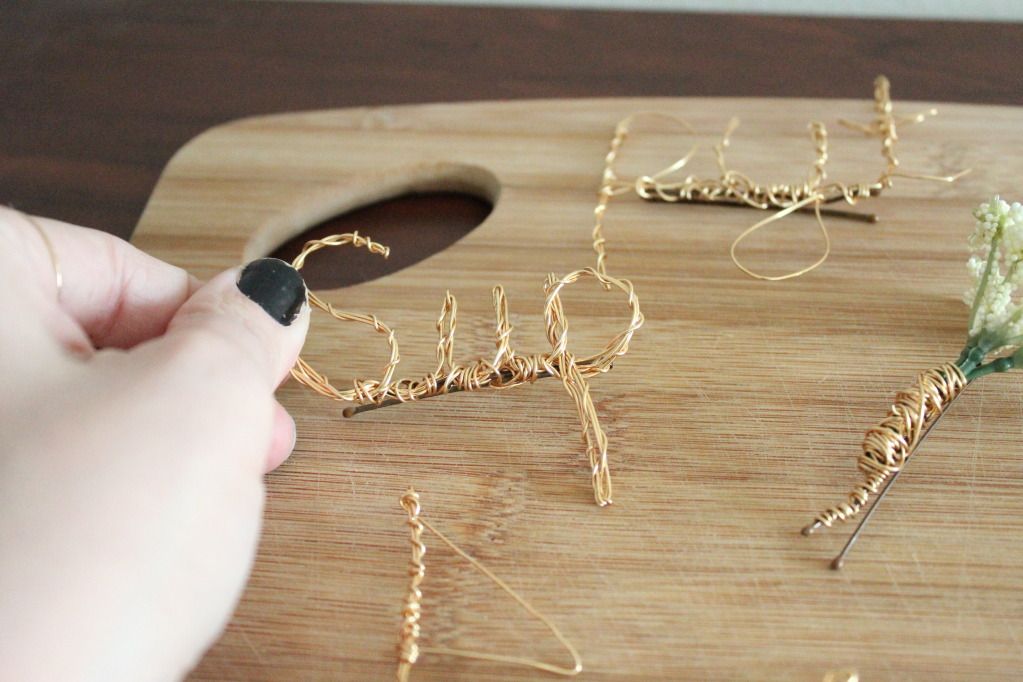
-Place your object on the bumpy side of the pin, to get an idea of where it will attach.
-Take the excess wire coming off of your shape, and start at one end of the bumpy side of your pin.
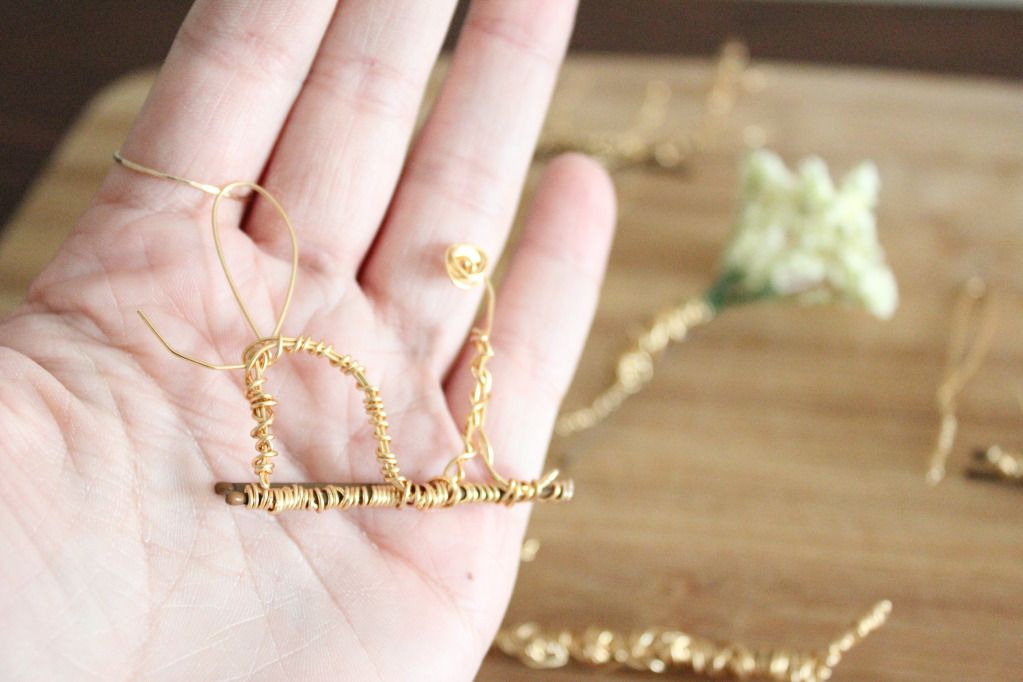
-Wrap the wire as snugly as possible around and around the pin, until you get to where the pin folds.
-You can cut off the excess wire now, and use your pliers to make sure any snaggy (technical term) parts of the wire are tucked in tightly.
-Use your pliers to close the bobby pin.

Well, that's all I've got for now! Collar necklaces and floral crowns to follow soon(ish)!
I love this! Seriously one of the best DIYs I've seen in awhile!
ReplyDeleteAww, thanks lyds! I had a lot of fun doing it!
DeleteWe appreciate your visit my blog . we would like to inform that currently we move to a new blog.
Deletevisit for more information https://goo.gl/UyAVFS
whoa. YES. i always have a fistful of bobbies in my hair. i am doing this right now a million times.
ReplyDeleteDo it! It's way easy.
DeleteWe appreciate your visit my blog . we would like to inform that currently we move to a new blog.
Deletevisit for more information https://goo.gl/UyAVFS
We appreciate your visit my blog . we would like to inform that currently we move to a new blog.
ReplyDeletevisit for more information https://goo.gl/UyAVFS