

Funny (term used loosely here) story: when we moved into the apartment in which we currently reside, there was a giant pipe sticking out of the wall above the fireplace/gas heater in the photo above. It was leftover from when the living room still contained a wood stove. All I know, is that eyesore was a gross understatement of what that was. It needed to be camouflaged, and quick! A box shelf seemed to be the easiest route to take, but of course, you can't have just one; a cluster is necessary. And where would we find them in the right dimensions? With all this in mind, Matt built them we decided to build them ourselves. And guess what: it's not hard!
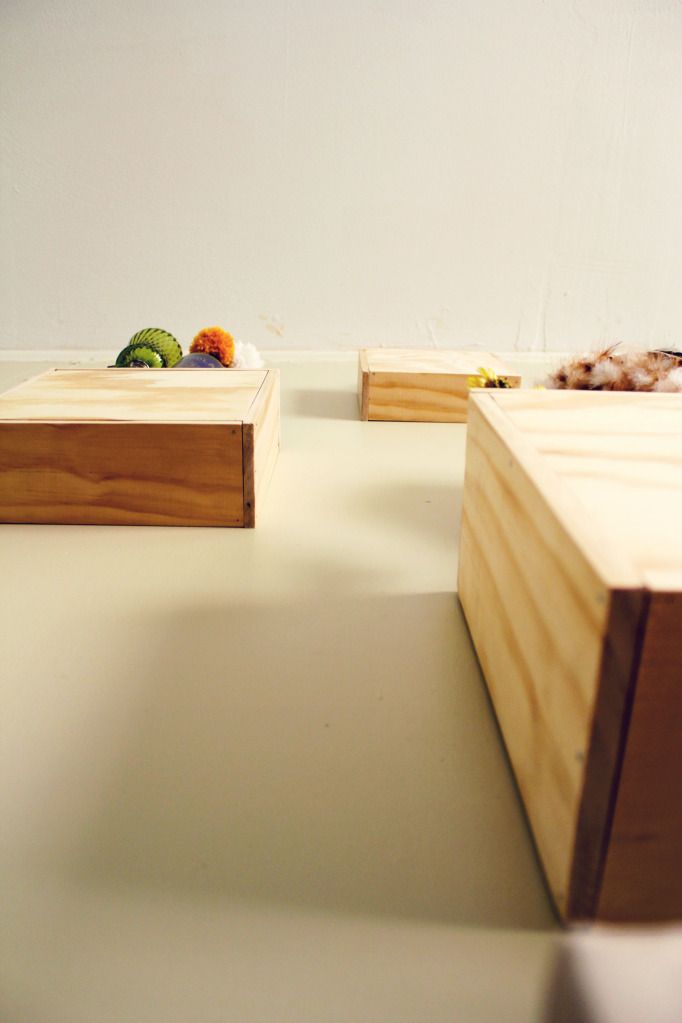
Since we had one specific area we needed covered, our dimensions (for the largest box, at least) needed to be quite specific. But really, you can make them any size, to fit any area of your home!
You will need:
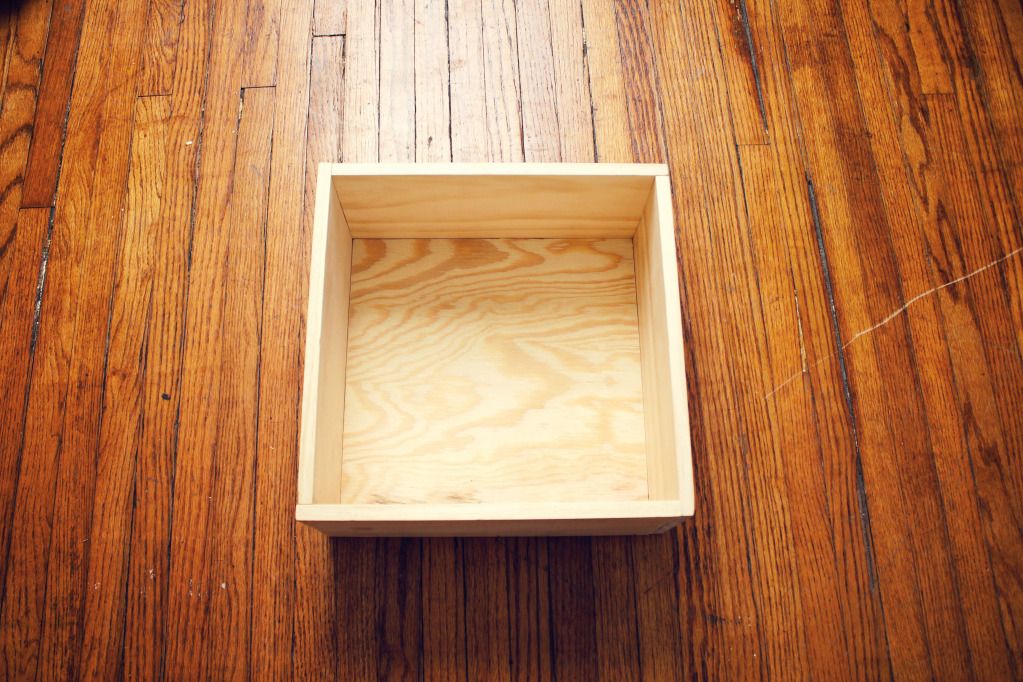
-For the 12 x 12 box (largest): 4, 1/2" thick pieces of wood (we chose pine) measuring 11 1/2" x 5 1/2", and a piece of plywood measuring 11 1/8" x 11 1/8" (for the front side)
-For the 10 x 10 box (middle): 4, 1/2" thick pieces of wood measuring 9 1/2" x 3 1/2", and one piece of plywood measuring 9 1/8" x 9 1/8"
-For the 8 x 8 box (smallest): 4, 1/2" thick pieces of wood measuring 7 1/2" x 2 1/2", and one piece of plywood measuring 7 1/8" x 7 1/8"
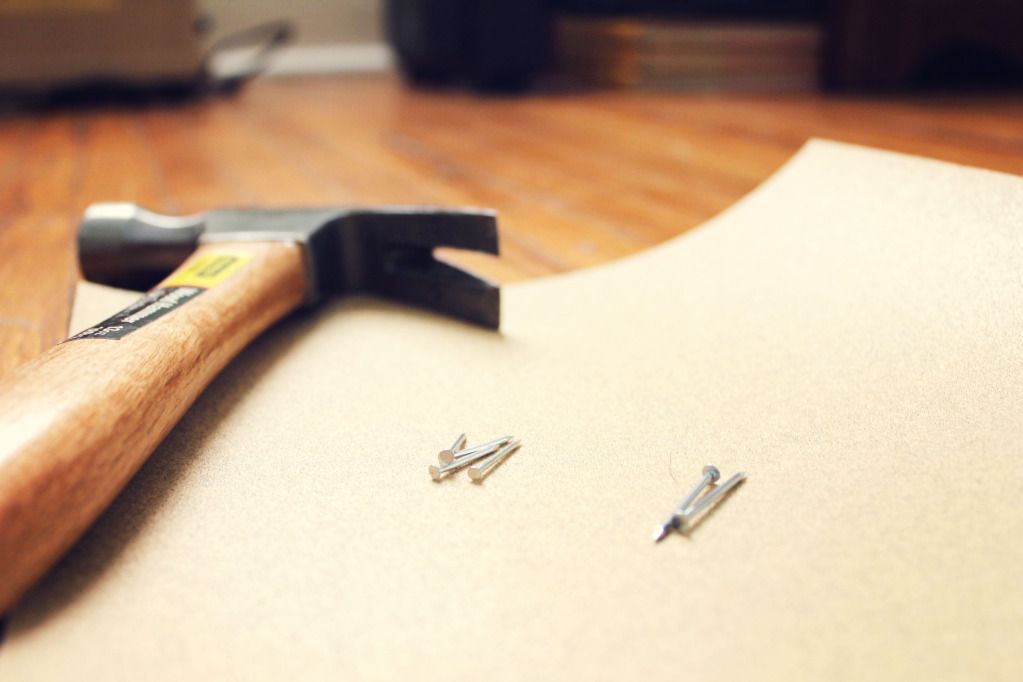
-Nails
-Hammer
-Fine sandpaper (we used 150)
*All of our pieces of wood were cut from bigger boards at a local hardware store. If you don't have a saw on hand, don't worry: most hardware/lumber stores of a decent size will cut your pieces for you for free (or very close to it)!
*All of our pieces of wood were cut from bigger boards at a local hardware store. If you don't have a saw on hand, don't worry: most hardware/lumber stores of a decent size will cut your pieces for you for free (or very close to it)!
!. Begin by sanding the all of the cut edges of your wood. This will not only help your pieces look better, but will also cut down on the likelihood of splitting at the ends.
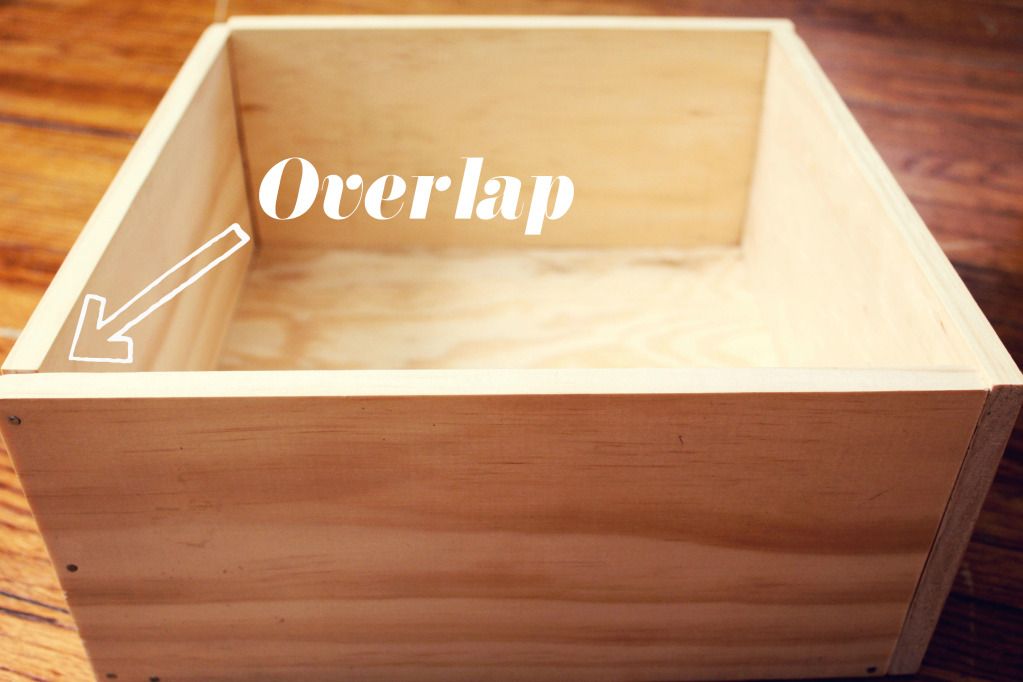
2. Matt suggested that we make our border pieces fit like a puzzle around the front side of the box; he said it would make it sturdier as well as provide some visual interest. So when attaching the sides to the base, you want to line up one end of the side board to be even with the base. After this is done, there will be some overlap of the side board past the base. And then you'll place the next side board in the nook you've created with the overlap of the last side board. This may sound confusing, but when you think of the side boards like the recycling symbol (cyclical, ever-connecting), it makes more sense.
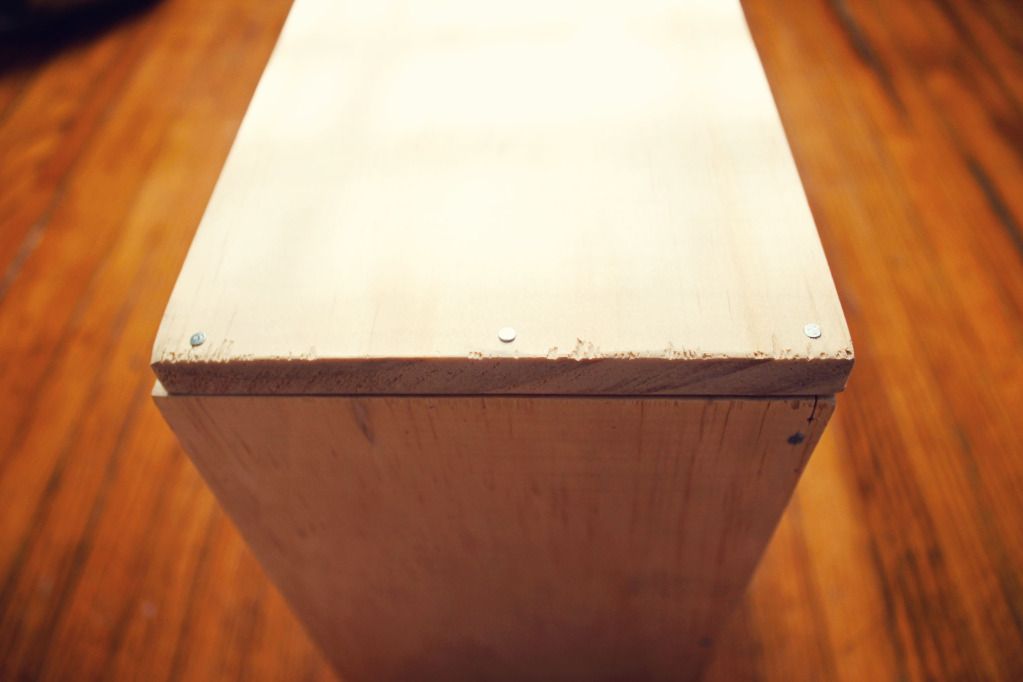
3. The nailing part is a bit tricky, as it requires a delicate balancing act. If possible, you might want to have another person help hold the side boards in place while you hammer the nails in. The nails should go through the end of one side board, into the beginning of the next. Once your basic shape is in place, you can go back and add nails to any weak spots. Repeat these steps for all of your boxes.
4. We liked how the natural color of the wood looked with our room, but if you prefer, you can paint your boxes! This would be a great way to tie any room together.
5. To hang, measure the distance between two corners of your box, and line up a pair of nails accordingly on your wall. If you need to, use a level (there are plenty of free level apps for your smart phone!).
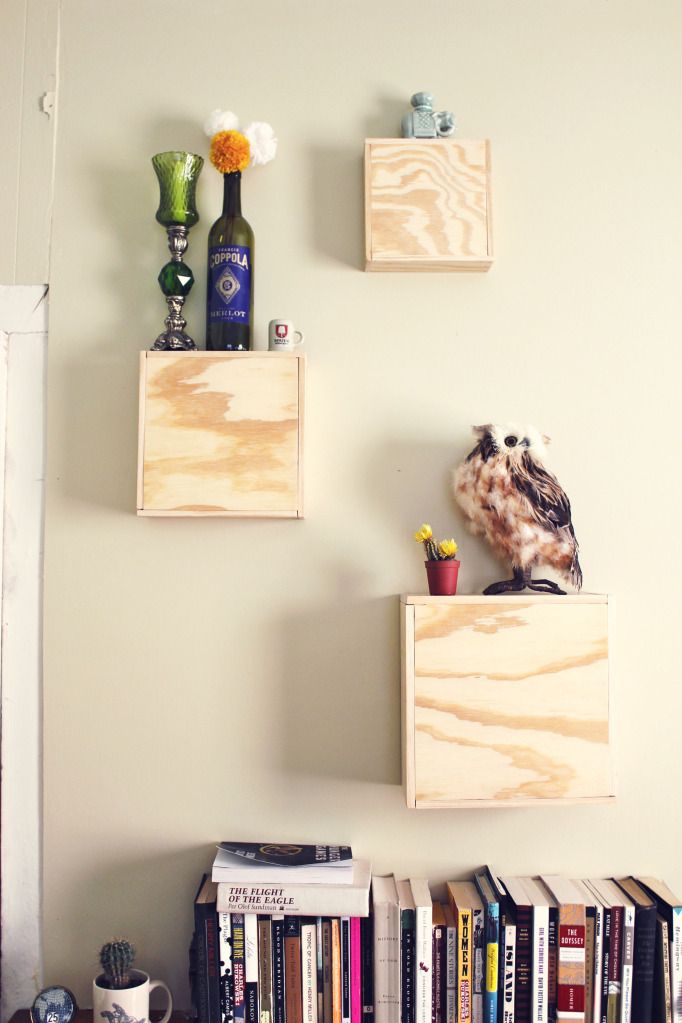
Annnd you're done! See? Not bad at all. Let me know if you try this out!
Thank you! : )
ReplyDeletethis is SO PRETTY. i thought you stole this off of someone's pinterest at first haha. i'm so doing this when i move back out- it's such a cute decoration piece (and i want your knick knacks, they're adorbs)
ReplyDeleteps im pinning this ;)
Haha, I will take that as a complement!
DeleteAnd you should totally do it! It's way easy.
And thanks for pinning, haha! I thought about it, but thought it might be tooting a certain horn? Might do it anyway ; )
very cute AND clever! Love it!
ReplyDeleteThanks Gentri! : )
Deletewhat a clever DIY! and can I just say I love that painting of the old man smoking a pipe in the background :)
ReplyDeleteThanks Ashley! The mother of invention is necessity, haha.
DeleteAnd thanks! I think Matt found that at a thrift shop.