
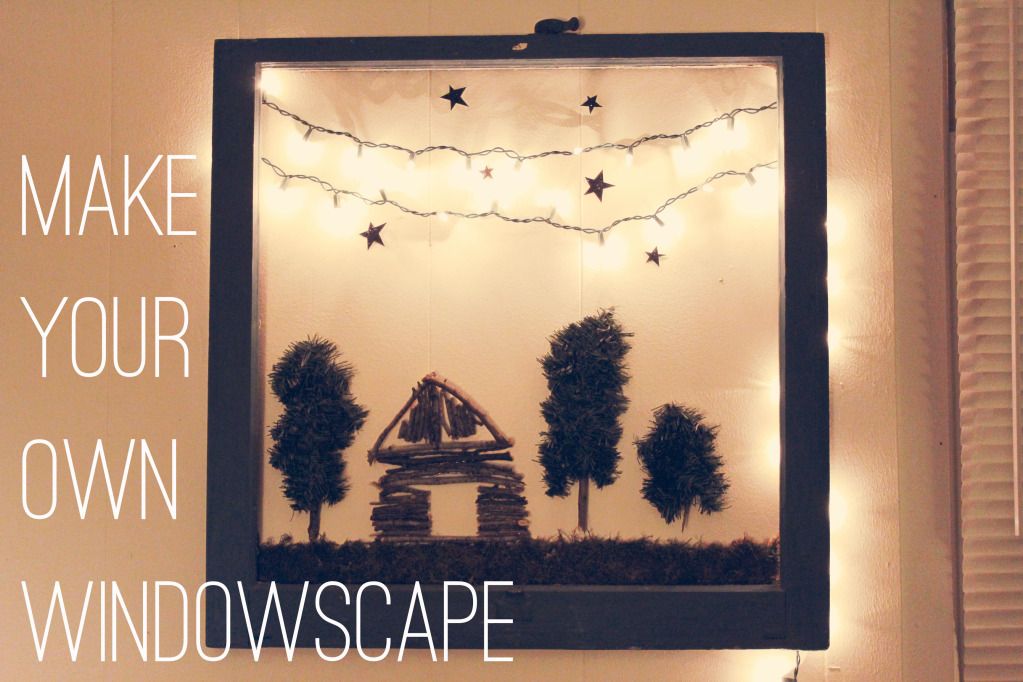
A once co-worker of mine brought an old window she'd had lying around to work one day, to see if anyone wanted it. Since I seem to collect things that "I'll use for a project someday..." like it's my job, I, of course, took it off her hands. I've since made a nightlight/cabin in the woods scene out of it, and would like to share how it's done.
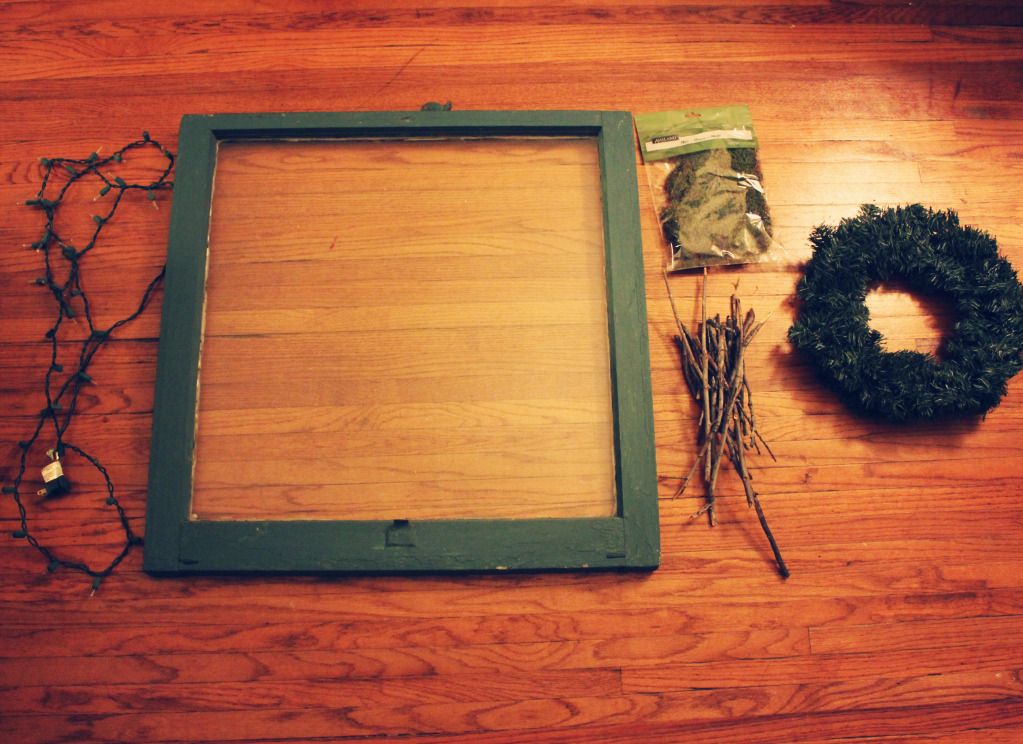
You will need:
-- an old window frame of whichever size you prefer
-- a string of Christmas lights
-- sticks (don't buy, collect from ground)
-- a wreath
-- one decorative bag of moss (found at your local craft store)
Things you'll need that I forgot to picture:
-- scissors
-- a hot glue gun (with plenty of glue sticks)
-- cardboard
-- a clear sealant spray
-- some form of decorative scrapbook paper for stars (I chose black glittered)
-- thumbtacks to hold string of lights onto frame
-- sticky tack or heavy-duty tape

1. Take one of your sticks and put it against your window frame, to see how wide you'd like your cabin.
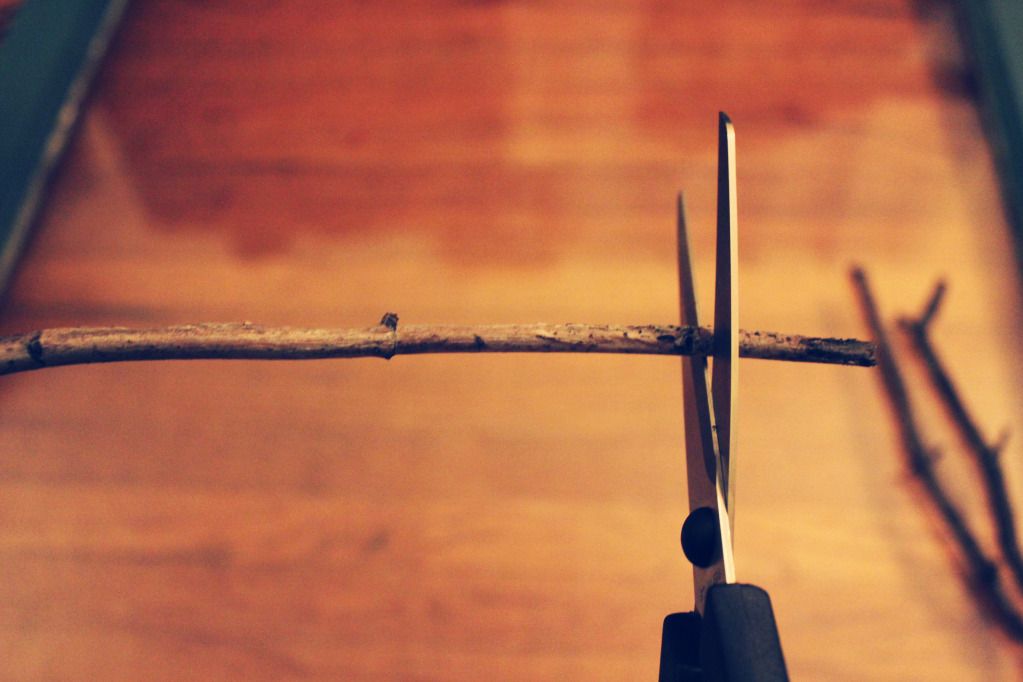
2. Cut the majority of your sticks to the length you measured. Your sticks should be more twig-ish than log-ish if you'd like to stick with scissors. Otherwise, you'll probably need a hand saw. Don't forget to save three sticks for your trees (you can choose the sizes).
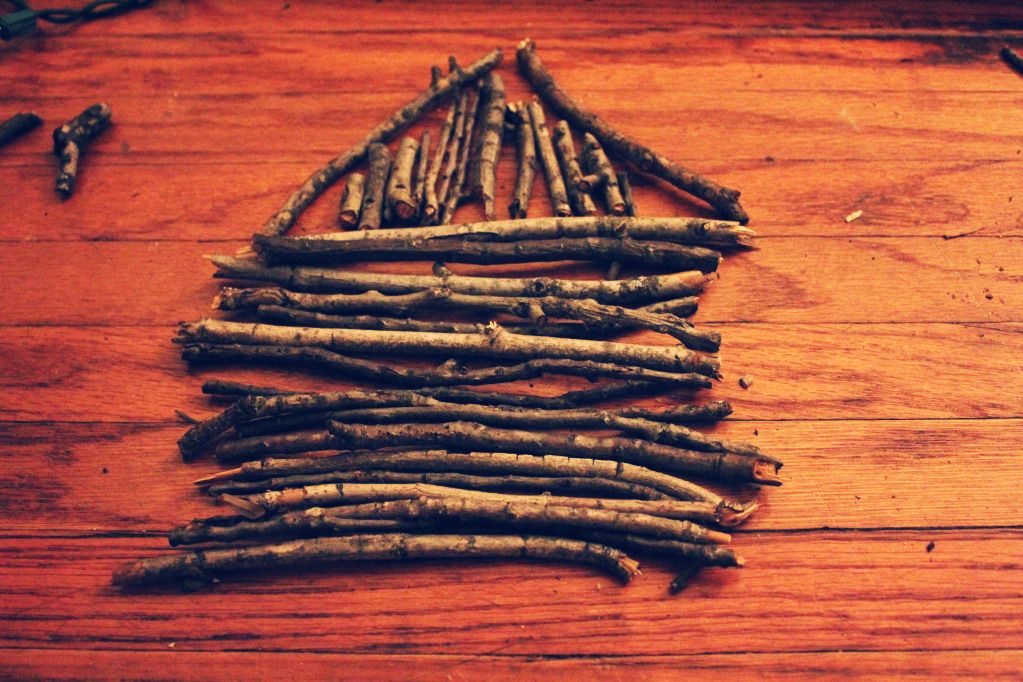
3. Once you get the wall of the cabin all set, you can take some of your leftover sticks and play around with the roof. I chose an A-frame roof with vertical sticks inside, but you can decide what works for you.
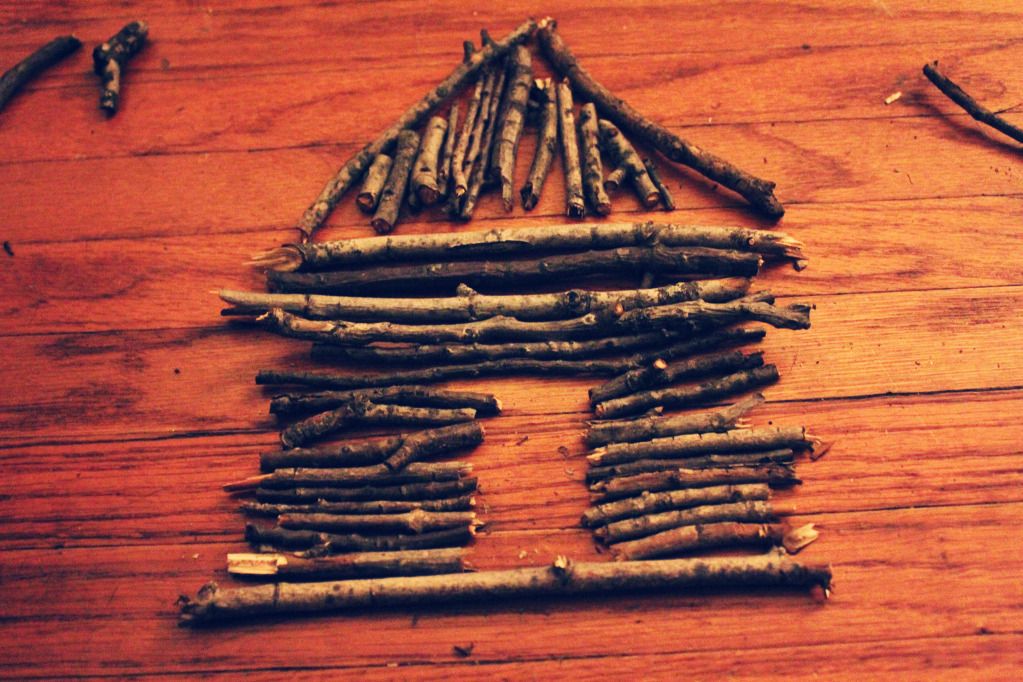
4. After leaving one of your more solid sticks at the bottom, take about 2/3 of your wall sticks and cut a piece out of the center of each of them to create a cabin door. Leave the sticks between the top of the door and the roof solid.
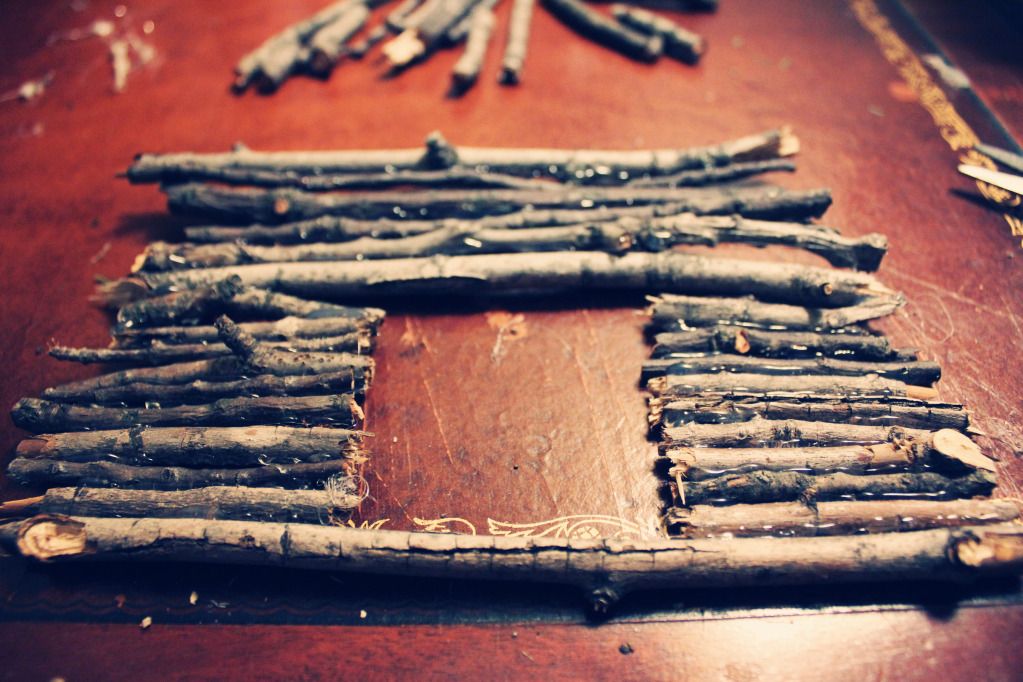
5. Glue the wall pieces together.
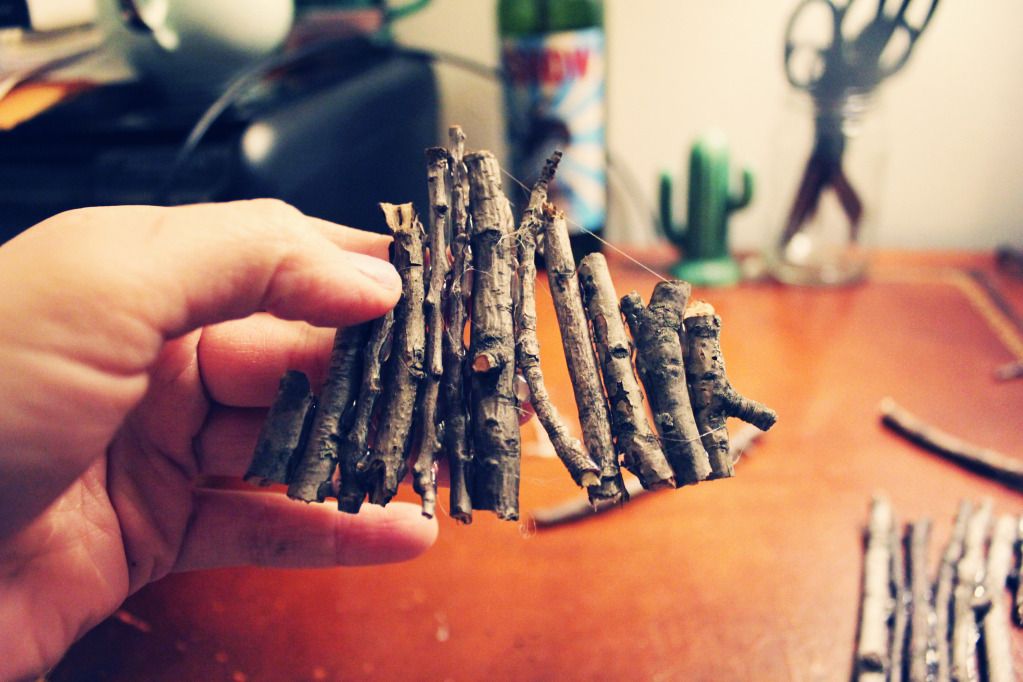
6. Then the roof pieces.
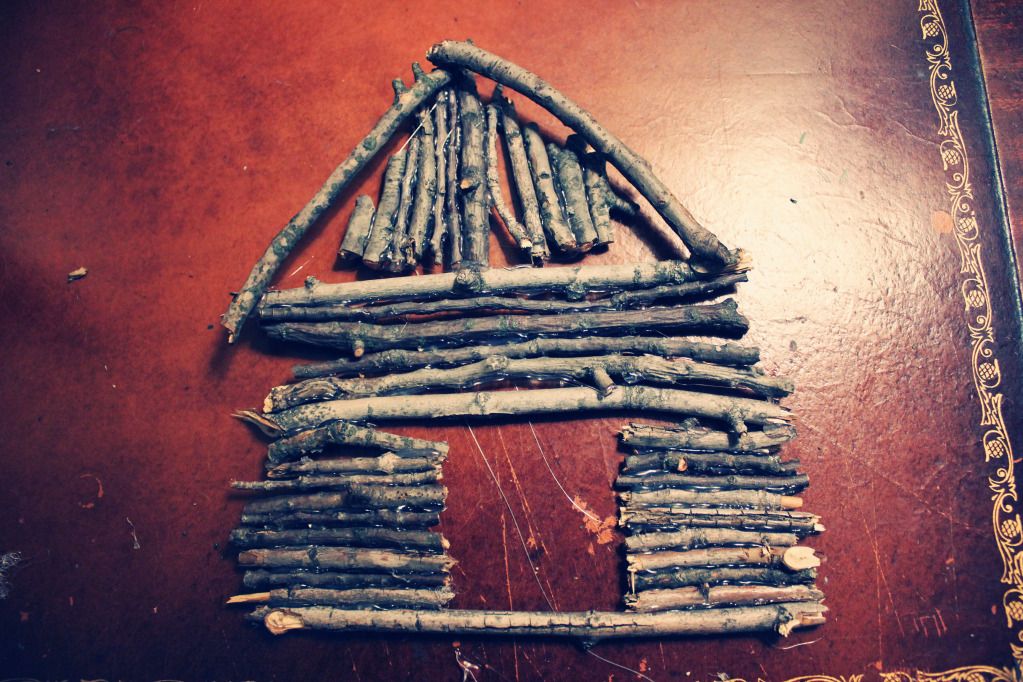
7. Attach the two sections.

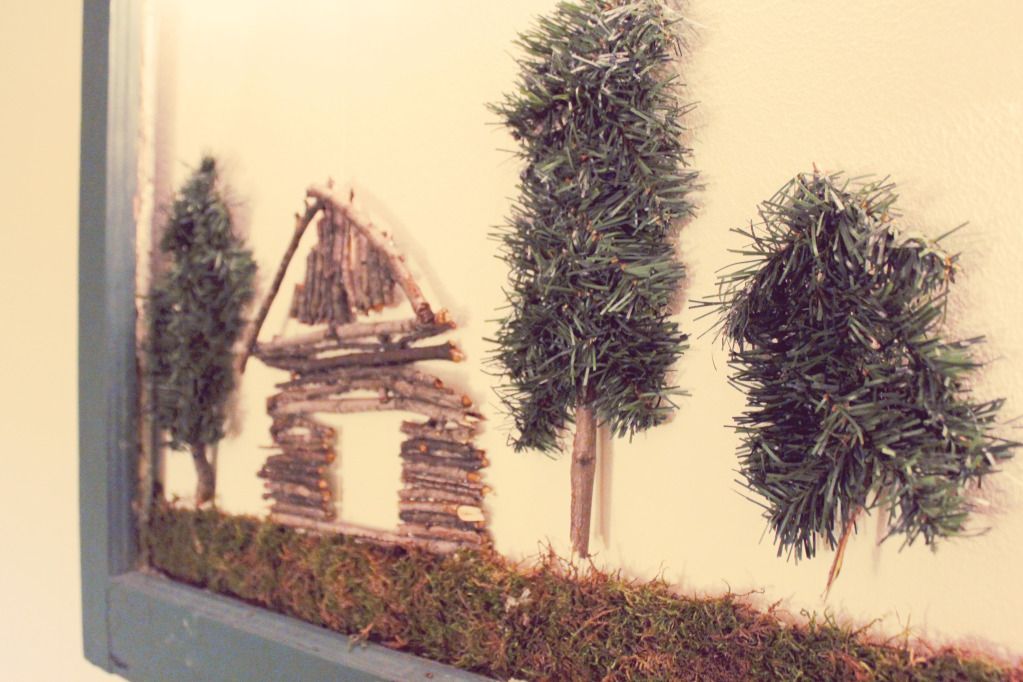
8. Take your wreath, and cut small sections of the wire for your tree branches.
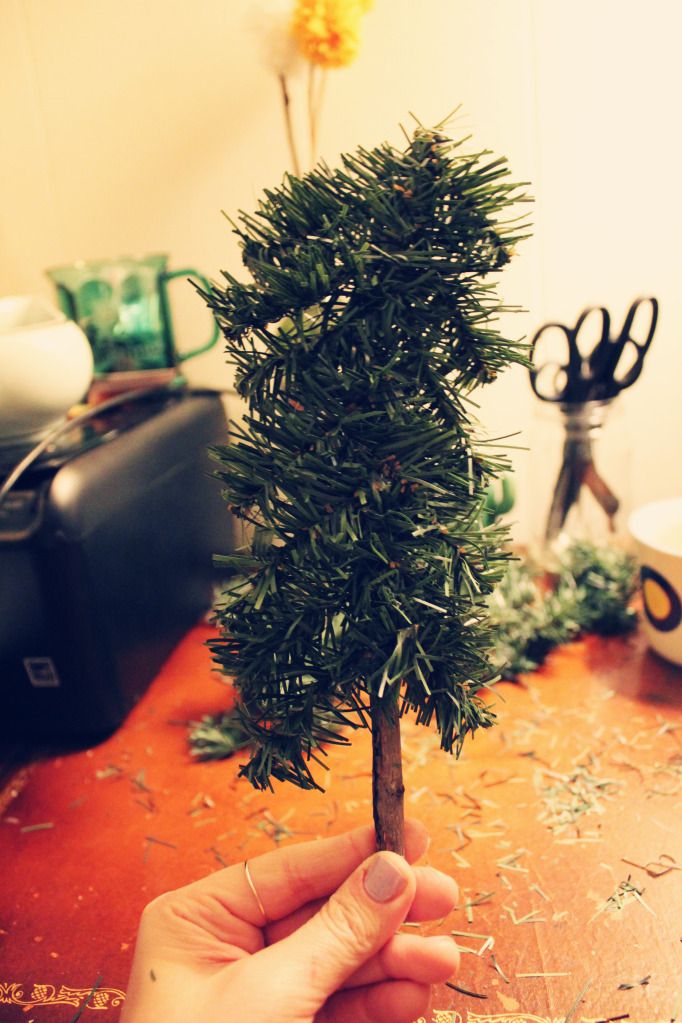
9. Glue them to the tree trunks in a diagonal-down formation.
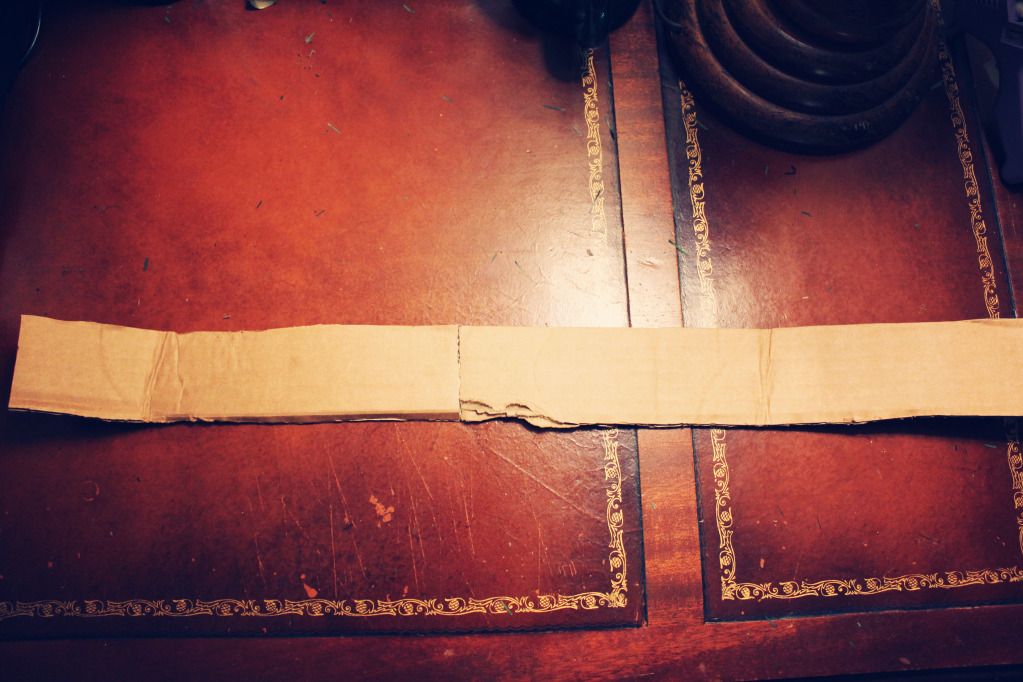
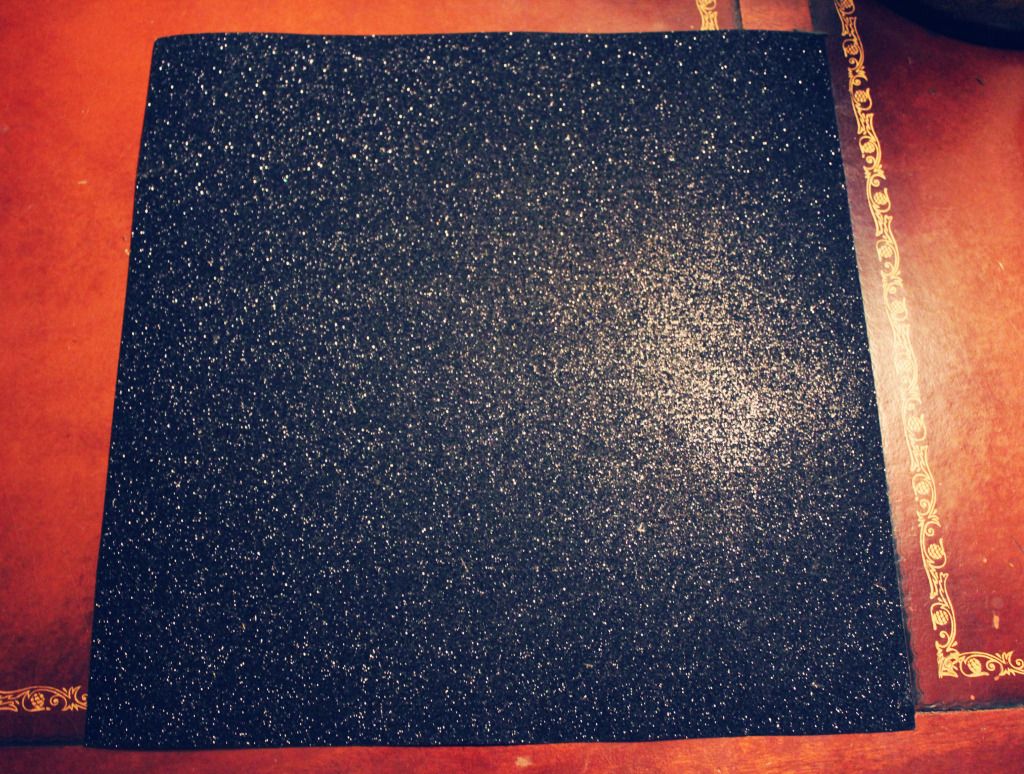
10. For your moss-covered ground, measure the width of your window frame and cut a piece of cardboard to suit. How deep your moss goes (or the width of the cardboard) depends on how wide your frame is, and how much moss you have. Adjust accordingly.
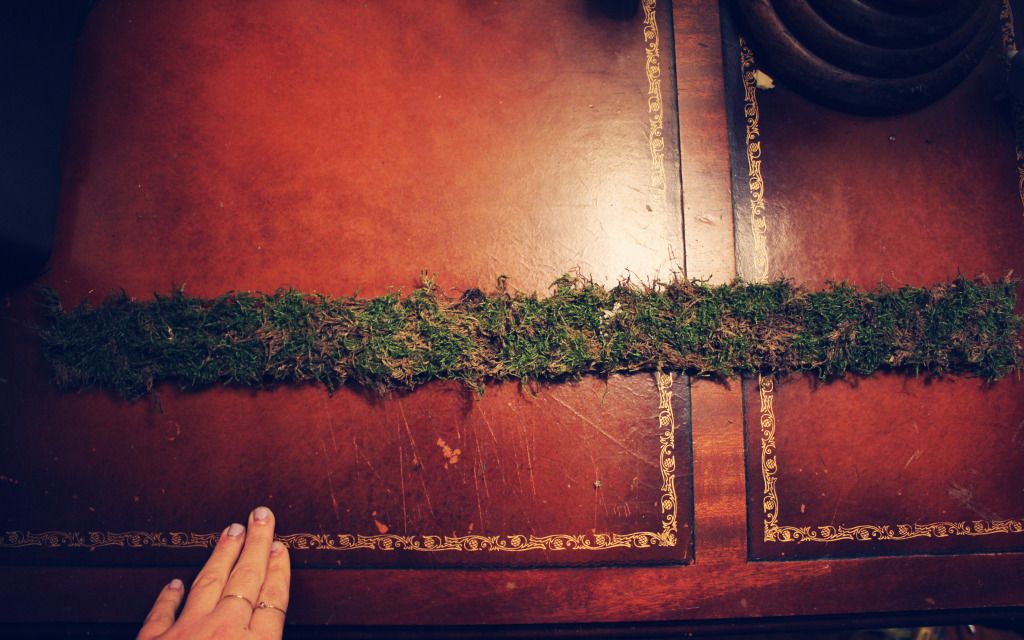
11. Glue moss onto cardboard.
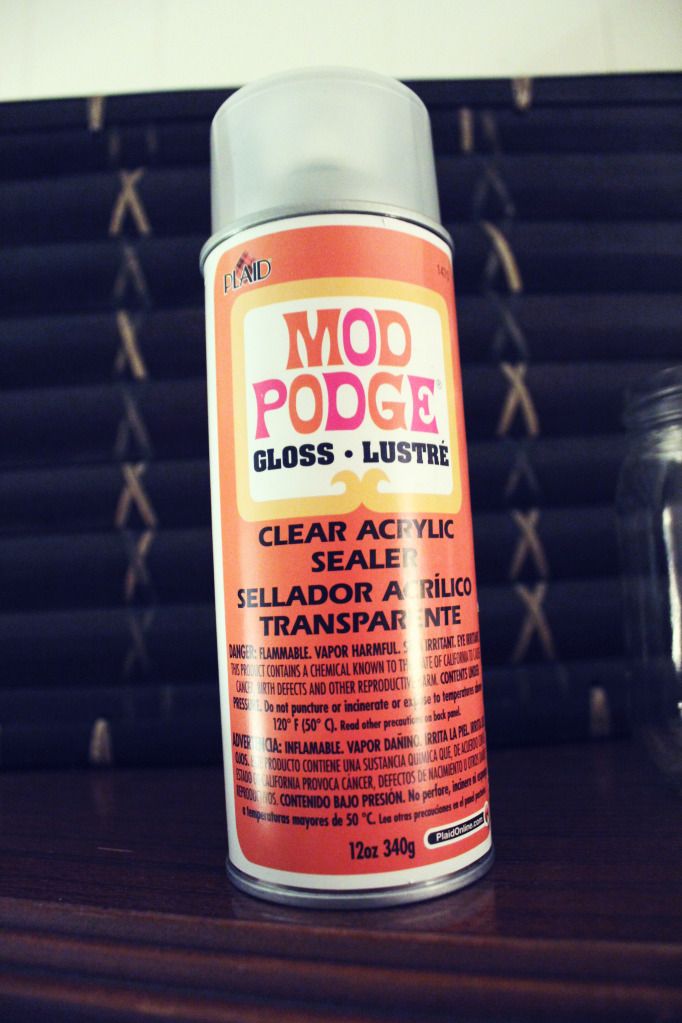
12. Seal moss with clear sealant spray. Let dry.

13. Draw stars on reverse side of scrapbook paper and cut them out.
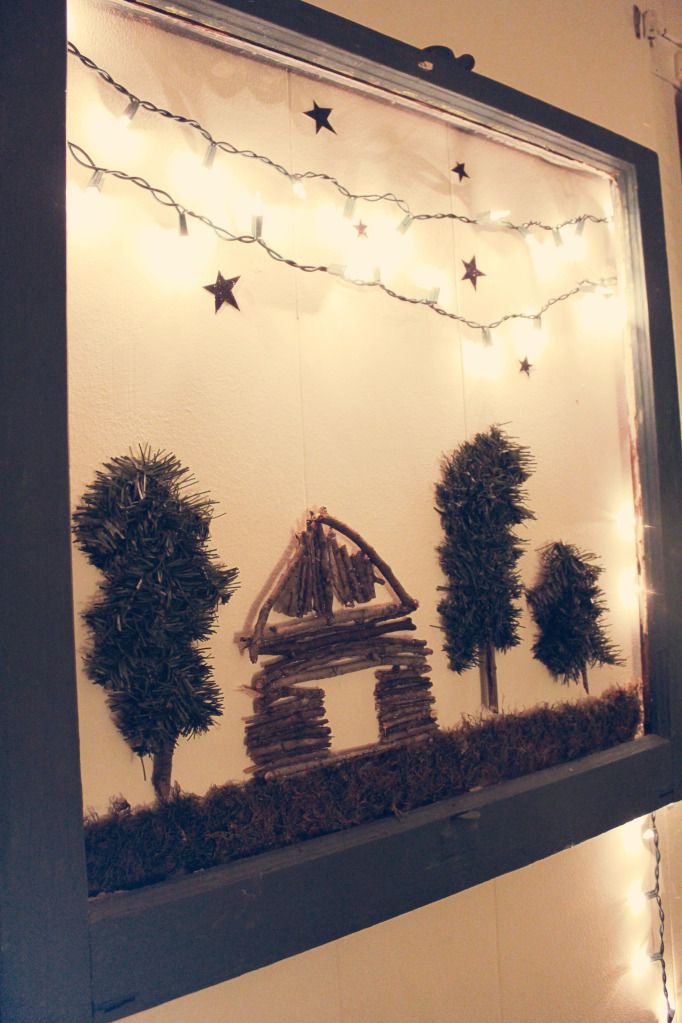
14. String lights across back of frame and attach everything to front of window using sticky tack or tape.
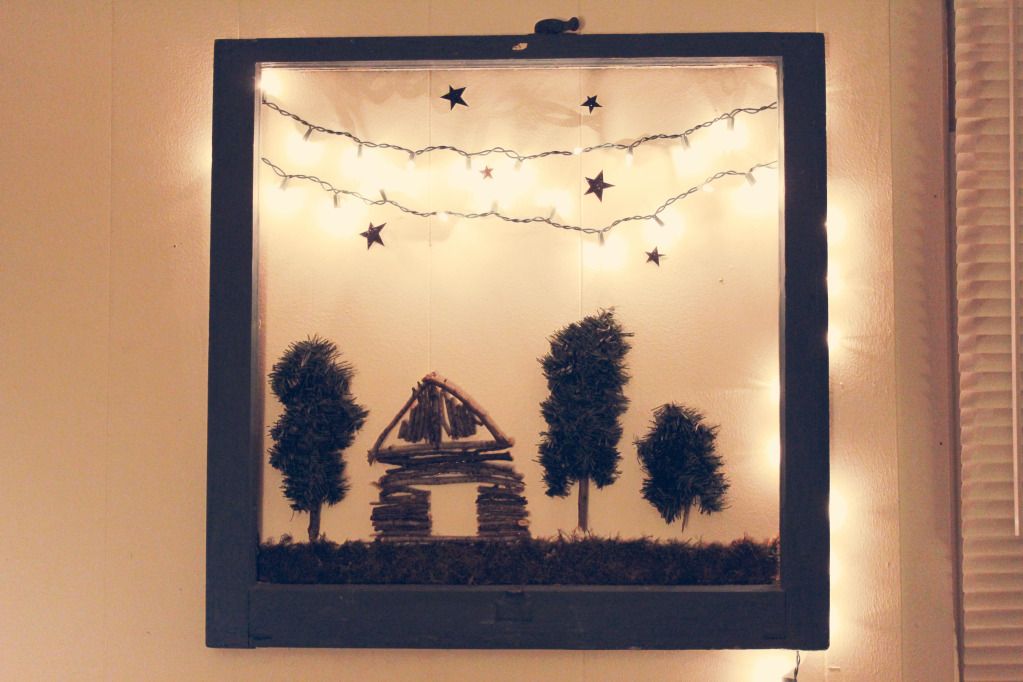
This is so pretty to use as soft lighting during evening hours. I hope you enjoyed this!
this is so cute! and wildly creative. i definitely want to give this a try…i've got an idea or two. ; )
ReplyDeleteThanks Bridget! You should definitely give it a try- there's so much room for interpretation. Let me know if you make one! I'd love to see what you do with it!
DeleteThat is one of the most creative ideas I've seen lately! It looks amazing!
ReplyDeletexo Jennifer
http://seekingstyleblog.wordpress.com
Thanks Jennifer! I'm flattered : )
Delete